


I’ve migrated my sites from WordPress and now use a static site generator called Hugo. I host the pages on Firebase using the free Spark Plan. I no longer pay a monthly fee to my web host. There is still the fee for the domain name, but the fee on renewal can be reduced by switching to Cloudflare Registrar.
There can be a bit of a learning curve as you frame your mind around static site generators after you’ve already gotten used to working in WordPress. This guide will help you get started getting a domain and setting up your new blog.
Chances are, you are here looking to migrate your existing web site. If that’s the case, skip down to the next few sections to get to the meat of how to migrate your WordPress site to Hugo.
If you’re here looking for WordPress alternatives, the first few sections on buying domain names info might be helpful to you. I include it as there are some additional tips that may help you save some money in the future.
Coming up with the Domain Name
The first step is figuring out what domain name you’d like to use. Since “.com” domains are getting scarce, there are a number of tools out there that help you come up with a brandable site. Here are a few that help you generate domain names that are still available for you to buy:
- LeanDomainSearch: This site lets you put in a keyword and provides you a list of domains containing that seed keyword. For example, you want a domain related to coffee, so you enter “coffee” as the keyword. The site will give you results such as “BlissCoffee” and “MindbodyCoffee”.
- Bust A Name: Bust-a-name’s word maker tool lets you either make domains with your keyword, or will generate completely random domains that sound like they could be words. Putting in “coffee” as the keyword resulted in domains such as: “coffeemas.com” and “coffeemaka.com”
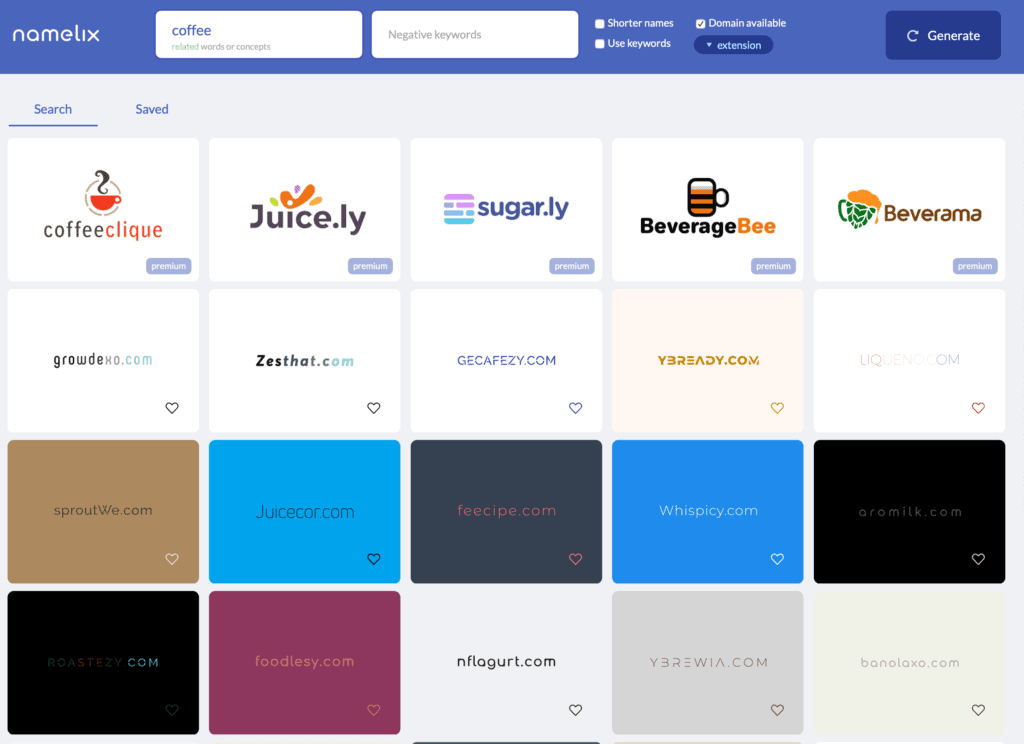
- Namelix: Namelix generates domain names based on the theme of the keyword. It also generates some sample logos to give you an idea of how the domain may be branded. Below is a screenshot of Namelix domains. To get the domains that are available to buy, be sure to click the “Domain available” check mark and avoid the “premium” labeled domains.
Buying the Domain
Now that you’ve decided on your domain name, you need to purchase it.
To help you save a few extra bucks on your domain purchase, download the free Honey browser extension. The extension for Chrome, Firefox, and Safari will automatically look up and apply coupon codes for you.
There are many places to purchase and registar a domain, but for the sake of this guide, we will be using Namecheap. A .com domain can be purchased for $8.88 for the first year ($12.88/year for the renewal), and WHOIS privacy protection is included in the price.
To save on the renewal fee, transfer your domain to Cloudflare Registrar. Renewals are $8.03 annually and has WHOIS information redacted to ensure your privacy. At the time of this writing, you can’t purchase a domain through Cloudflare, only transfer it.
About Hugo
Hugo is a software program that creates static html files from text “Markdown” or HTML files that you create. If you’ve ever formatted your Reddit comments, you’ve used Markdown. Each Markdown file in the “posts” directory gets turned into a blog post. The posts are HTML files that are then uploaded to your web server. In this case, we are using Firebase as our web server.
With these static files, you get the advantage of having a fast site. Fast sites keep users engaged, and it’s one of the critera Google uses to rank it’s sites in search engines.
However, unlike WordPress, you don’t get a fancy dashboard. You won’t have CMS(Content Mnagement System) where you have an admin area to add users and review other people’s comments. In fact, you’ll have to use a third-party commenting system like Disqus. To create a contact form, you’ll need to use something like Wufoo.
There isn’t a graphical user interface with Hugo, so you’ll have to become comfortable with folders and editing text files using a format called “Markdown”. If you are familiar with HTML, it should be fairly easy to pick up.
These aren’t really disadvantages considering the greatest thing about using Hugo is the availablitly of all the free web hosting that can be used with a Hugo site.
Here are a list of hosts with free plans:
Ok, enough of the background. Let’s get started with configuring Hugo to work with Firebase and Namecheap.
Setting up Hugo
Get a text editor
A few useful things to be familiar with before starting: you’ll need a text editor and be familiar with the terminal.
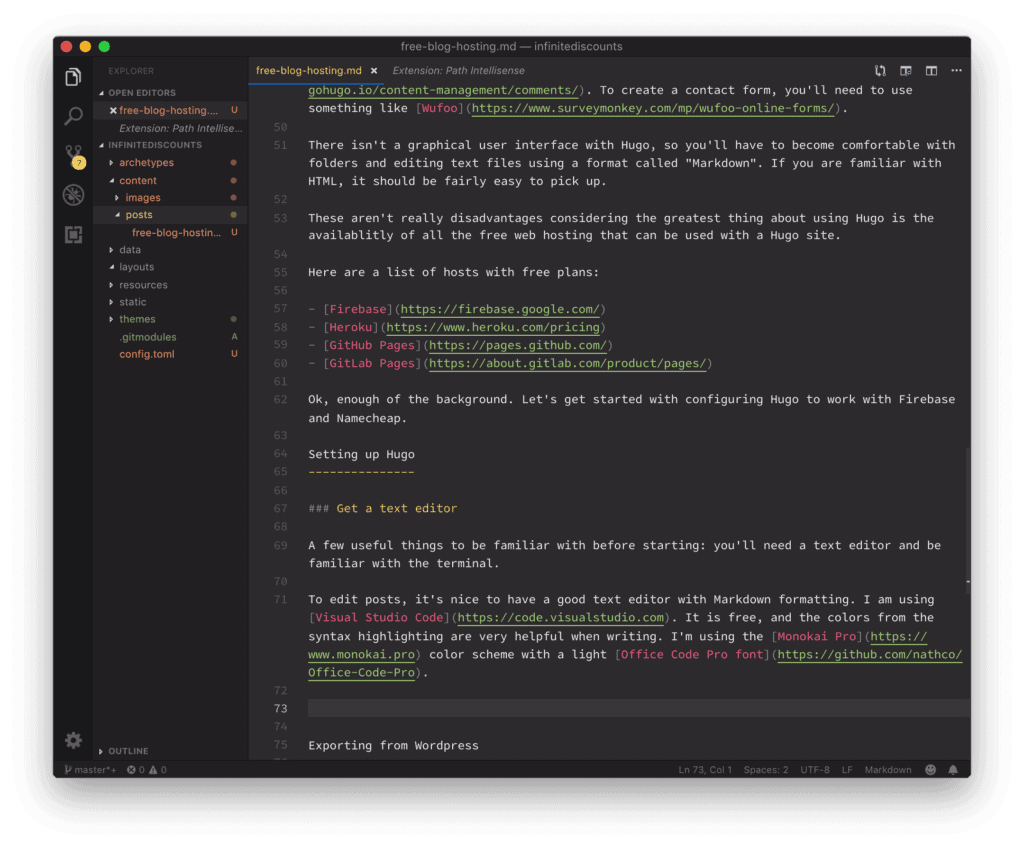
To edit posts, it’s nice to have a good text editor with Markdown formatting. I am using Visual Studio Code. It is free, and the colors from the syntax highlighting are very helpful when writing. I’m using the Monokai Pro color scheme with a light Office Code Pro font.
Open up the Terminal
In our examples, we will be using macOS. For other operating systems, follow the official documentation on the Hugo site. MacOS, Windows, Linux, OpenBSD, and FreeBSD are supported.
Install Hugo
The easiest way to install Hugo is with Homebrew. First install Homebrew by copying and pasting this line into the Terminal:
/usr/bin/ruby -e "$(curl -fsSL https://raw.githubusercontent.com/Homebrew/install/master/install)"
Then install Hugo using brew by typing or pasting the following into your terminal:
brew install hugo
You should see somes tuff happening on your terminal screen.
==> Downloading https://homebrew.bintray.com/bottles/hugo-0.21.sierra.bottle.tar.gz
######################################################################### 100.0%
==> Pouring hugo-0.21.sierra.bottle.tar.gz
🍺  /usr/local/Cellar/hugo/0.21: 32 files, 17.4MB
Then you’ll want to create a directory for your new site. Type:
hugo new site nameofsite
In this case, a directory called “nameofsite” will be created. Replace “nameofsite” with whichever name or directory you’d like this project to be on your computer.
You’ll then want to add a theme by using the following commands:
cd nameofsite
git init
git submodule add https://github.com/budparr/gohugo-theme-ananke.git themes/ananke
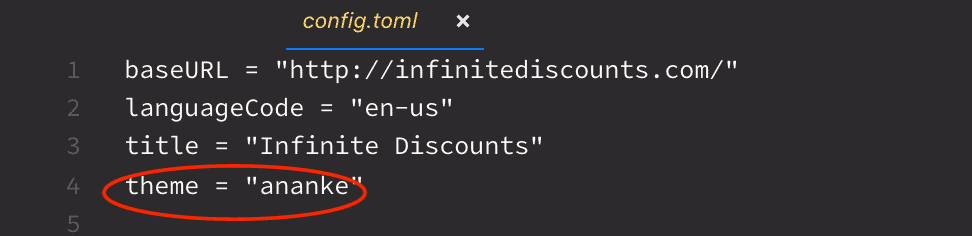
echo 'theme = "ananke"' >> config.toml
The “git” commands first initialize your directory and then copy over the Ananke theme to your project directory.
The “echo” command edits your config.toml file to add a line to your config.toml file, that is listed in your project directory.
To learn about the other configuration options, have a look in the themes/anake/exampleSite folder.
At this point, you’ll want to check to see if everything’s working.
Let’s add a post and fire up the Hugo server locally on your computer.
Add a Post
To add a new post, type into the termal the following:
hugo new posts/my-first-post.md
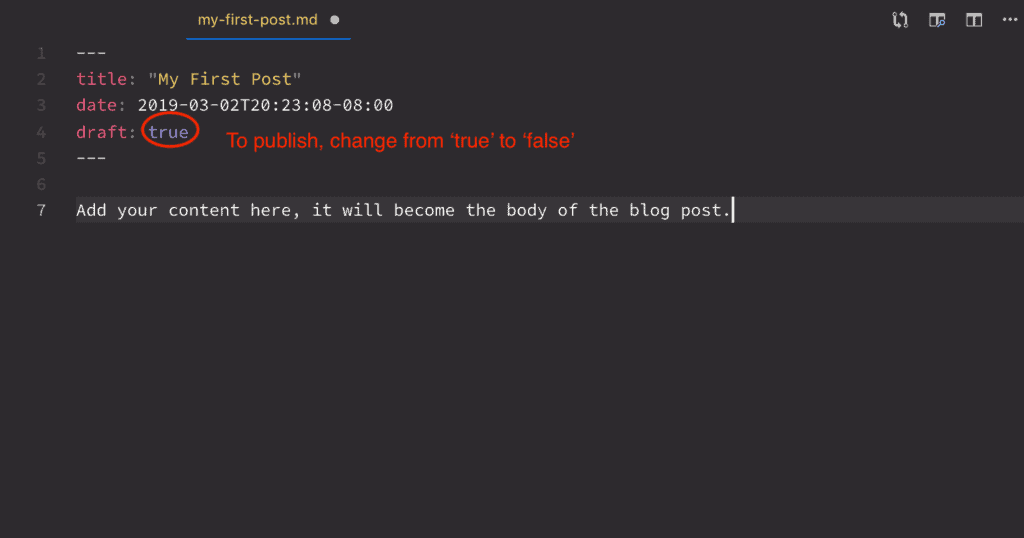
This adds a Markdown file into your content/posts directory. Open up that file in your text editor and add some content.
Start up the server
Since the first post is in draft mode, we want to start up the server to show drafts. We can do this by typing into the terminal:
hugo server -D
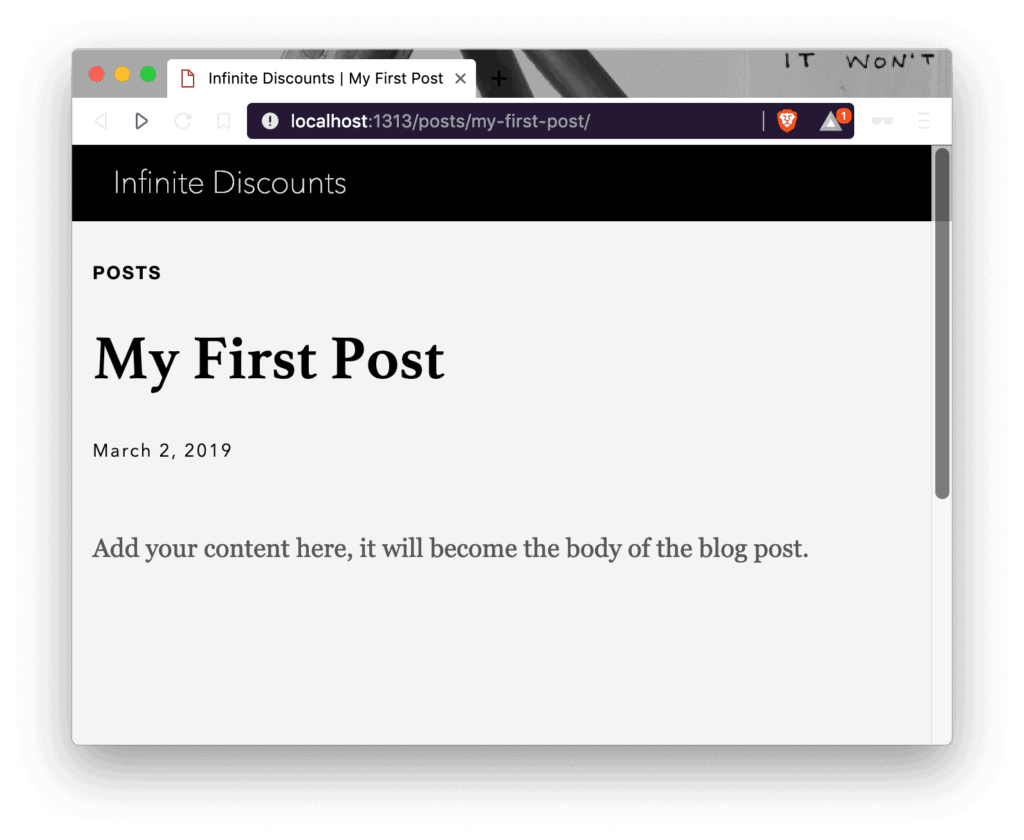
You should see something like “Web Server is available at http://localhost:1313/” displayed in your terminal. Open up a web browser and paste in that “http://localhost:1313/” address. You should be able to see your first post displayed with the nice Anake theme.
Now that everything is working, we can export from WordPress and move them to Hugo.
Exporting from WordPress
Go into your “Plugins” menu in WordPress, then “Add New”. Search for “jekyll” and you should see the Jekyll Exporter. Install the Jekyll Exporter and activate it in WordPress.
Jekyll is another static site generator and it will export files in a format that Hugo can also read.
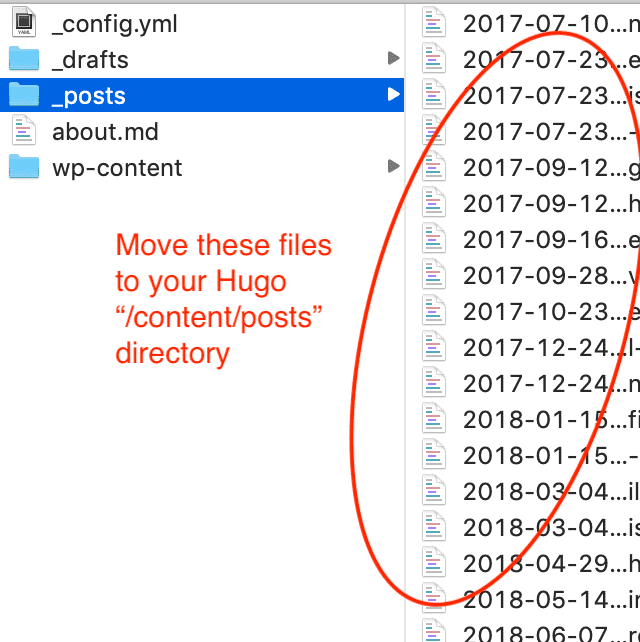
Once the plugin is activated, head to the “Tools” menu and select “Export to Jekyll”. A zip file will be created and downloaded to your computer. Extract the file and you’ll see a directory called “_posts”. Copy all those files ending in .md into your /content/posts directory in your Hugo project.
Your browser showing http://localhost:1313/ should have refreshed, and you should now see your WordPress articles in your new Hugo blog.
Since all these files are still on your computer, the next step is to upload them to a web host. We will be using Firebase for that since it’s free.
Deploying to Firebase
Create an account and project
First, you’ll want to create an account on Firebase, then you’ll want to head to your Firebase Console, and “Add project”
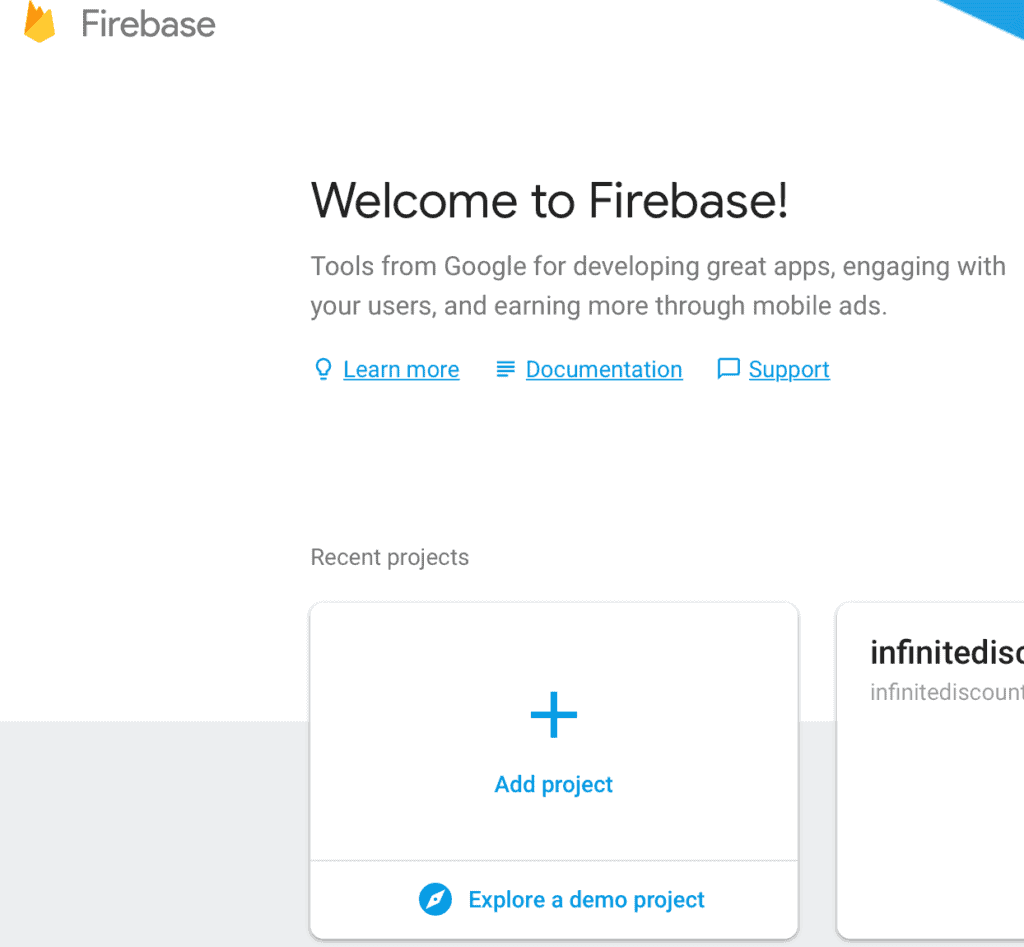
Give your project a name, then click the “Create Project” button.
Install the Command Line Tools
First you want to make sure you have Node.js installed. Then head back to your terminal and type:
npm install -g firebase-tools
This installs the command line interface for Firebase.
You’ll then want to type:
firebase login
This will log you into your Firebase account. Then, while in your Hugo project directory, type:
firebase init
You’ll be provided with a screen asking you to choose which Firebase feature you’d like to associate with the folder you are in. Use the arrow keys to move the cursor down to “Hosting: Configure and deploy Firebase Hosting sites” and hit the spacebar to select it. Hit “Enter” to continue.

You’ll then be asked to select a default Firebase project. Choose the one you just created in the Firebase console for this. Or select “create new project”.
When you are asked:
? What do you want to use as your public directory? (public)
Just hit enter and use the default “public”.
Type “N” for the next question:
? Configure as a single-page app (rewrite all urls to /index.html)?
If you chose “create new project” be sure your project is in the Firebase Console and then run the following command in your terminal:
firebase use --add
Select the appropriate project, give it an alias and press Enter.
Deploy your Hugo site to Firebase
To upload your Hugo site to Firebase, type into your terminal the following:
env HUGO_ENV="production" hugo && firebase deploy
Your posts will be generated into the “public” folder and uploaded to Firebase. Be sure to include the “production” environment variable. This particular theme will add a “noindex, nofollow” meta tag if “production” isn’t used. This will keep the search engine robots from finding your site, meaning no traffic and no visitors!
Your terminal should now display something like:
Hosting URL: https://yourfirebaseprojecthere.firebaseapp.com
Head to that URL in your browser and you should see your site active.
As you can see, the current URL displays firebaseap.com. In the next step, we will configure your Namecheap DNS to point your custom domain name to Firebase.
Setting the Namecheap DNS
In your Firebase Project overview, you’ll see a “Hosting” section. We want to go into that section and click on the “Connect domain” button.

You’ll then be asked to type in your domain. You can type it in without the ‘www’ as we will set that up later.
You’ll then be asked to verify your domain. Head over to your Namecheap Dashboard, select “Manage” for your domain, change the Nameservers to Namecheap BasicDNS. Click that little green checkmark and save the setting.

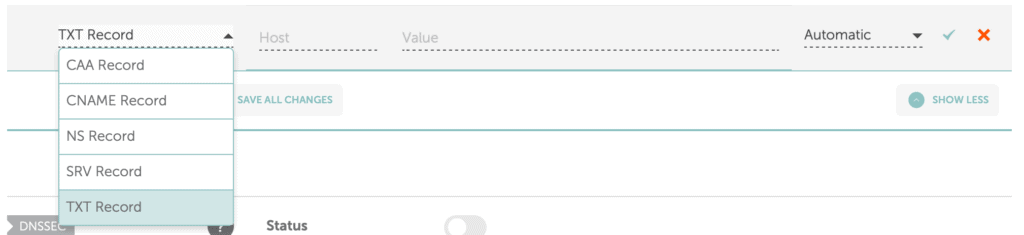
Then head to the Advanced DNS tab and “Add New Record”. You’ll want to select TXT and paste in the corressponding host and value strings that Firebase had provided you.

Then you’ll want to set up the add “A” records as Firebase instructs. However, instead of putting your domain as “Host” in Namecheap, use the ‘@’ symbol instead.
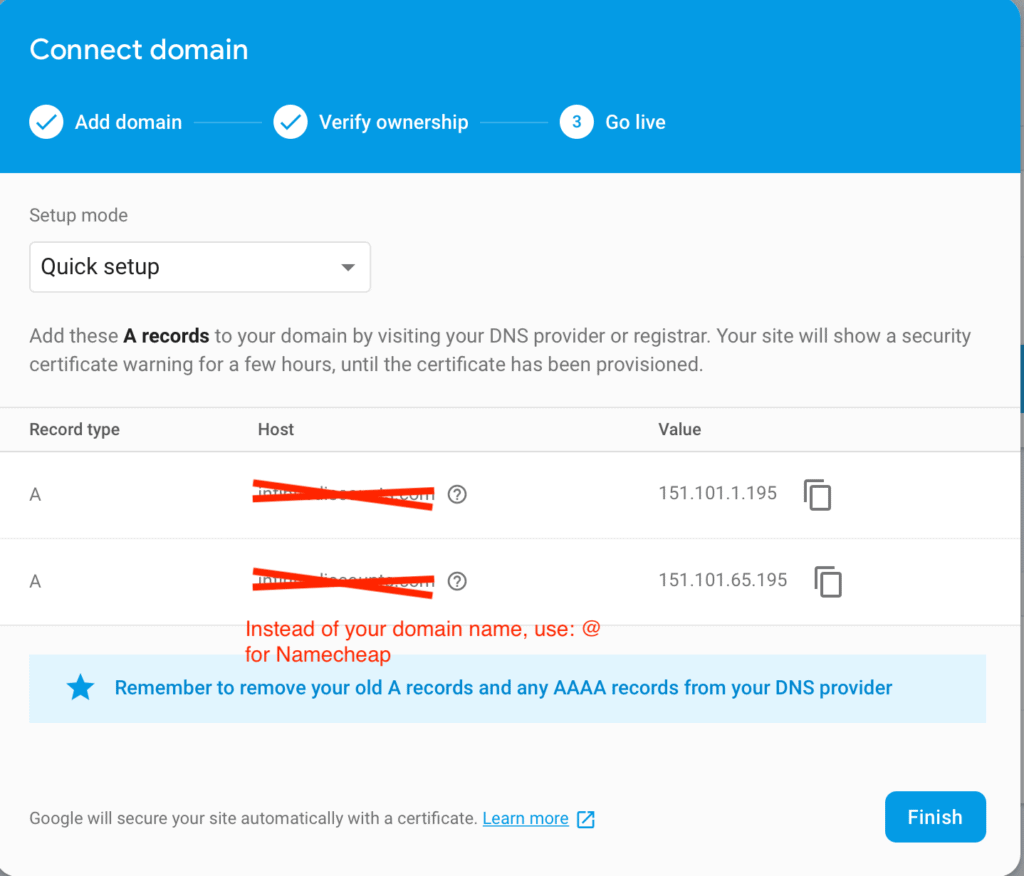

You’ll want to repeat this process for the ‘www’ redirect option as well, however, your host entry will be the full www.yourdomain.com.
Also add a CNAME record with “www” as the host and your firebase app domain as the “Target”.
Your final Namecheap DNS configuration should look like the screenshot below:
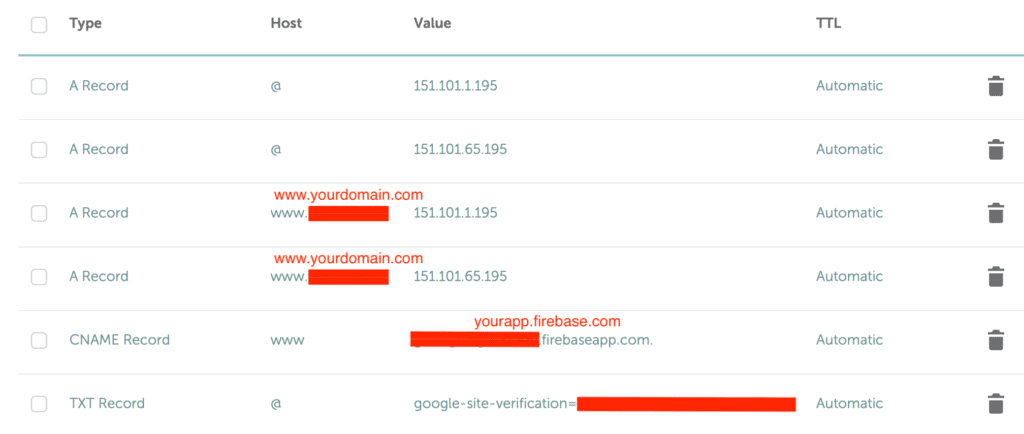
Give it a few hours for the DNS to propogate and the SSL certificate to generate and you’ll have your domain pointing to your Hugo site, all hosted on a speedy Firebase host, for free!
